When responding to water damage, first verify your safety by checking for electrical hazards and structural instability. Shut off water and electricity sources immediately, then document all damage with photos for insurance. Extract standing water using appropriate equipment, and salvage valuable items before moisture causes further harm. Set up dehumidifiers and fans strategically based on moisture readings, not randomly. Maintain humidity between 40-50% and monitor progress daily. The methodical approach you’ll discover prevents costly long-term damage.
Table of Contents
ToggleKey Takeaways
- Conduct safety assessments for electrical hazards and structural damage before entering water-damaged areas.
- Shut off main water supply and electricity at the circuit breaker to prevent further damage.
- Document all damage with photos and videos before beginning cleanup for insurance claims.
- Extract standing water quickly using appropriate tools like wet/dry vacuums or submersible pumps.
- Implement strategic drying with dehumidifiers and fans, monitoring moisture levels until below 16% for wood and 1% for drywall.
Ensure Safety: Identifying Hazards Before Entering the Area
When confronting water damage, how can you protect yourself from potentially life-threatening hazards? Before entering any water-damaged area, conduct a thorough hazard assessment. Check for electrical dangers like exposed wiring, downed power lines, or standing water near outlets. Verify the main power is off if there’s significant flooding.
Assess structural integrity—look for sagging ceilings, warped floors, or cracked foundations that might collapse. Be aware of contamination risks, as floodwater often contains sewage, chemicals, or biological hazards.
Always wear proper personal protective equipment: waterproof boots, gloves, eye protection, and respiratory masks for mold-prone environments. Don’t forget to check for gas leaks, particularly after natural disasters. If you detect unusual odors or hissing sounds, leave immediately and contact emergency services. Never rush into water-damaged spaces without first evaluating these critical safety concerns.
Stop the Water Source and Turn Off Electricity
After ensuring the area is safe to enter, you’ll need to immediately locate your home’s main water shutoff valve to stop further water intrusion. Turn off your home’s electricity at the circuit breaker panel, following proper safety protocols by standing on dry ground and using rubber-soled shoes or gloves when handling electrical components. These precautionary measures prevent dangerous electrical hazards that commonly occur during water damage situations, including risk of shock, short circuits, and electrical fires.
Locate Main Shutoff Valve
The most critical first step during water damage emergencies involves locating and shutting off your home’s main water valve. Knowing your valve location before an emergency occurs can save precious minutes and significantly reduce damage extent. Most homes have their main shutoff valve near the water meter, typically located in the basement, crawlspace, utility room, or outside near the foundation.
Look for a gate or ball valve attached to the main water line entering your home. Gate valves have a wheel handle that requires multiple turns, while ball valves feature a lever that operates with a quarter-turn. The shutoff importance cannot be overstated—every minute water flows uncontrolled, damage compounds exponentially. Document your valve’s location, share it with household members, and consider labeling it clearly for quick identification during high-stress situations.
Circuit Breaker Safety Protocol
Once you’ve shut off the main water valve, electrical safety becomes your next priority. Locate your home’s main electrical panel and switch off the circuit breakers for the affected areas. If you’re unsure which circuits to disable, turn off the main breaker to eliminate all electrical hazards.
Never touch electrical devices, outlets, or switches while standing in water. Use a dry wooden broom handle or plastic tool to operate breakers if moisture is present near the panel. Regular circuit breaker maintenance guarantees they’ll function properly during emergencies.
Consider electrical system upgrades that include GFCI protection and water detection systems if your home experiences recurring water issues. Document the location of critical breakers on your emergency preparedness checklist, enabling faster response times during future incidents. Always prioritize personal safety over property protection.
Prevent Electrical Hazards
While addressing a water emergency, preventing electrical hazards must be your immediate priority. Before entering a flooded area, shut off the main electrical supply to eliminate shock risks. Wear rubber boots and gloves as essential safety equipment when working around potential electrical hazards.
Don’t attempt to operate electrical devices that have been exposed to water. Even if they appear functional, internal components may be compromised. Mark these items for professional electrical inspections before future use.
Install ground fault circuit interrupters (GFCIs) in areas prone to water exposure, like kitchens and bathrooms. These devices automatically cut power when detecting current leakage.
Keep a non-conductive tool, such as a wooden broom handle, accessible to separate someone from an electrical source during emergencies without endangering yourself.
Document the Damage for Insurance Claims
Documentation serves as your critical evidence when filing insurance claims for water damage. Before beginning cleanup efforts, thoroughly capture all affected areas with photos and videos, ensuring you’ve recorded visible damage from multiple angles. Contact your insurance provider immediately to understand specific documentation requirements for your claim process.
To streamline your insurance documentation:
- Create a detailed inventory of damaged items including purchase dates, approximate values, and model numbers when available
- Save all receipts related to emergency repairs, replacement purchases, and professional restoration services
- Maintain a written timeline of events, including when you discovered the damage and actions you’ve taken to mitigate further damage
Don’t discard damaged items until an insurance adjuster has completed their assessment, as they may need to inspect them personally.
Remove Standing Water and Begin Extraction
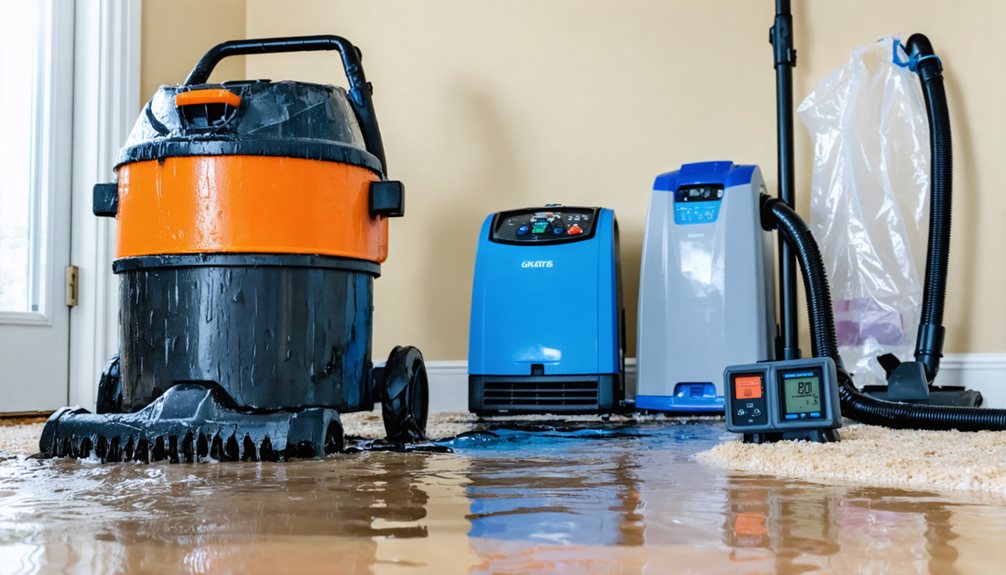
Fast action with water extraction prevents structural damage and mold growth after flooding. For small incidents, use buckets, mops, and towels to manually remove standing water. Wet/dry vacuums work effectively for moderate flooding, while submersible pumps are essential for severe cases with water depths exceeding two inches.
Start extraction from the highest water concentration areas, working methodically toward drier zones. Prioritize rooms with valuable items or electrical equipment. Don’t forget hidden areas where standing water accumulates: under appliances, inside cabinets, and behind furniture.
For effective water extraction, move in straight, overlapping lines, making multiple passes over the same area. This systematic approach guarantees maximum moisture removal. If water levels are significant or contain contaminants, consider hiring professional restoration services with industrial-grade extraction equipment.

Salvage and Protect Valuable Possessions
Once standing water has been removed, your priority should shift to rescuing and preserving valuable possessions before further damage occurs. Create a valuables inventory as you work, documenting condition with photos for insurance claims. Focus on items most susceptible to water damage that retain high monetary or sentimental value.
Begin the salvage process with these critical steps:
- Remove electronics, artwork, and documents from wet areas and place them in dry, well-ventilated spaces away from direct sunlight.
- Rinse mud-soaked items with clean water before they dry, as dried mud becomes more difficult to remove from sentimental items.
- Separate wet papers, photographs, and books by placing wax paper between pages, then freeze them if necessary to prevent mold growth while awaiting professional restoration.
Implement Professional Drying and Dehumidification Methods
After salvaging your valuables, the battle against moisture continues with systematic environmental control. You’ll need to implement professional-grade drying techniques using high-volume air movers strategically positioned to create circulation patterns that maximize evaporation. Place these units at 45-degree angles to wet walls, focusing on corners where moisture tends to linger.
Deploy commercial dehumidifiers based on your space dimensions—typically one unit per 150-300 square feet depending on saturation levels. Maintain indoor humidity between 40-50% to prevent secondary damage like mold growth. Monitor moisture content in different materials using moisture meters; wood should register below 16%, while drywall requires readings under 1%.
Document the drying process with daily measurements to track progress and adjust equipment placement as needed. Effective moisture control requires this methodical approach rather than simply placing random fans throughout the affected area.
Frequently Asked Questions
How Long Will Complete Water Damage Restoration Typically Take?
Like watching a baby’s first steps, water restoration timelines unfold gradually. Your timeline depends on the damage assessment process. Typically, complete water damage restoration takes 3-5 days for minor damage and 2-4 weeks for severe cases. You’ll see different phases: extraction (1-2 days), drying (2-5 days), cleaning (1-3 days), and repairs (variable). Factors affecting duration include materials affected, contamination level, and your region’s humidity levels.
What Are Signs of Hidden Water Damage Behind Walls?
You’ll notice several telltale signs of hidden water damage behind walls: discoloration or water stains, peeling paint or wallpaper, warping or buckling surfaces, and a musty odor. Conduct a moisture assessment using a moisture meter to detect increased humidity levels in suspected areas. Mold detection is essential—look for visible growth or dark spots along baseboards or ceiling corners. If you hear dripping sounds or feel dampness when touching walls, immediate investigation is warranted to prevent structural damage.
When Should I Replace vs. Restore Water-Damaged Items?
When determining whether to restore vs. replace water-damaged items, consider the extent of damage and cost considerations. Replace porous items (upholstered furniture, mattresses) with visible mold or contamination from black water. Restore non-porous items (metals, solid wood, electronics) if damage is minimal and restoration costs less than 50% of replacement value. You’ll need to weigh sentimental value against practical concerns, but don’t risk your health by keeping items contaminated with harmful bacteria or mold.
How Can I Prevent Mold Growth After Water Damage?
To prevent mold growth after water damage, dry all affected areas within 24-48 hours. Use dehumidifiers and fans to maintain indoor humidity below 50%. Remove soaked materials that can’t be thoroughly dried. Clean surfaces with antimicrobial products and guarantee proper ventilation throughout the process. Don’t forget to check hidden spaces like wall cavities and under flooring where moisture might linger. These mold prevention tips, coupled with effective humidity control, will significantly reduce your risk of a secondary mold infestation.
Will My Homeowner’s Insurance Cover All Water Damage Expenses?
Your homeowner’s insurance typically doesn’t cover all water damage expenses. Coverage limits vary by policy type and source of damage. Standard policies often cover sudden damage (burst pipes) but exclude flooding or gradual leaks. You’ll need to review your specific policy details and deductibles. Start the claim process immediately by documenting damage with photos and contacting your insurer. Be prepared to provide evidence of proper home maintenance as insurers won’t cover damage resulting from negligence.


One Response