
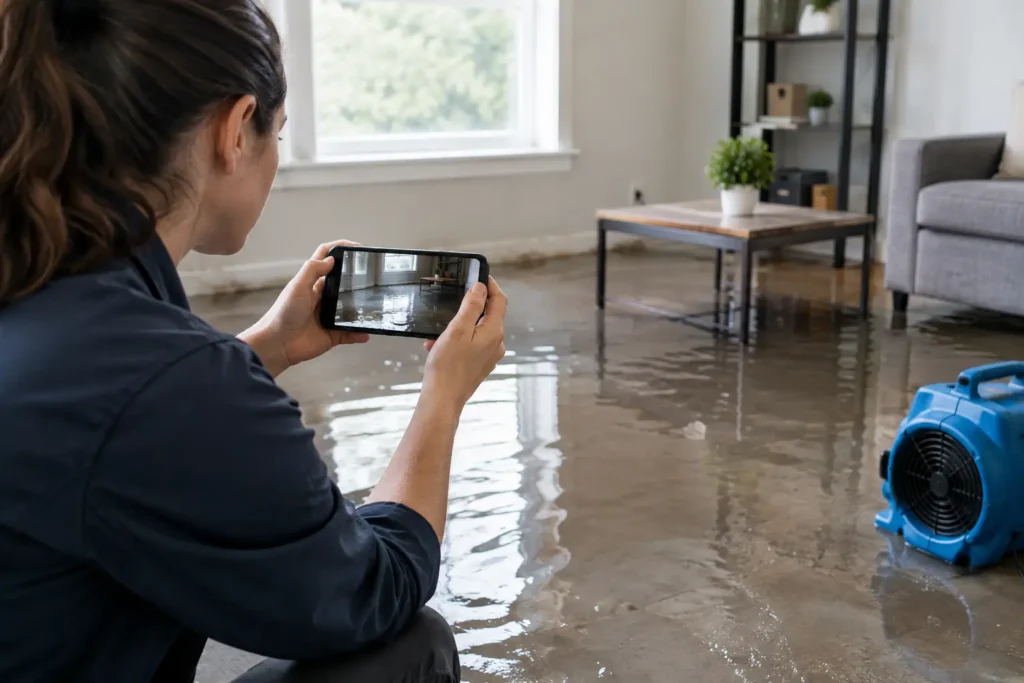
A burst supply line can soak a room in minutes. A slow leak behind a wall can cause just as much trouble while leaving far less visible evidence. In either situation, knowing how to document water damage gives you a clearer record of what happened, helps restoration professionals assess the loss, and can make conversations with your insurance carrier more organized.
Documentation should begin as soon as it is safe to do so. It does not replace emergency water removal or structural drying. In fact, delaying mitigation just to gather more photos can allow damage to spread. The goal is to preserve a reliable record while taking prompt steps to protect the property.
Table of Contents
ToggleStart With Safety and Stop the Source
Before taking photos, look for immediate hazards. Stay out of standing water near electrical outlets, appliances, extension cords, or a breaker panel. If a ceiling is sagging, do not walk or work beneath it. Water from a toilet overflow, sewer backup, or outdoor floodwater may contain contaminants and should be handled by trained cleanup professionals.
If you can safely do so, stop the source of clean water. This may mean turning off a fixture valve or the home’s main water supply. For a roof leak or storm-related intrusion, move away from the affected area and protect belongings only when it can be done safely.
Then contact your insurance carrier according to your policy requirements and call a qualified water damage restoration company. Fast extraction, dehumidification, and moisture monitoring can limit secondary damage such as warped materials and mold growth. Keep a record of each call, including the date, time, representative’s name, and claim number if one is assigned.
How to Document Water Damage Before Cleanup
Photos and video are often the strongest starting point because they capture conditions that may change quickly once extraction and drying begin. Take wide shots first, then move closer. A complete set of images tells the story of the water source, the path it traveled, and the materials it affected.
Use your phone or camera to photograph each affected room from multiple angles. Capture standing water, wet carpet, buckled flooring, stained ceilings, damp baseboards, swollen cabinets, damaged drywall, and any visible water source. If a pipe burst beneath a sink, photograph the pipe, the cabinet interior, the floor, and nearby rooms where water may have traveled.
Short video can add useful context. Walk slowly through the affected areas and narrate the date, the suspected source, and what you see. Avoid making guesses about the cause if you are unsure. A simple statement such as, “Water is coming from the ceiling below the upstairs bathroom,” is more useful than an unsupported conclusion.
Do not rely on close-up photos alone. Include wider images that show where damage sits within the room. When practical, photograph a measuring tape near a water line on a wall or a visible depth of water. This can help establish scale.
Create a Clear Written Record
After you have captured the initial condition, write a brief timeline while details are fresh. It does not need to be formal. A phone note, spreadsheet, or notebook can work well as long as it is organized and saved.
Record when you first discovered the issue, when water was last known to be absent, where the water appeared to originate, and which rooms were affected. Note actions taken to protect the property, such as shutting off water, moving furniture, contacting a plumber, or calling for emergency extraction.
Keep the language factual. For example: “Discovered water in basement at 6:30 a.m. on March 12. Water was flowing from the utility room toward the finished area. Main water supply was shut off at 6:45 a.m.” Clear facts are easier for every party involved to follow.
Also maintain a contact log. Include insurance representatives, restoration technicians, plumbers, property managers, and anyone else involved in the response. Save emails, text messages, estimates, invoices, and work authorizations in one digital folder. Back up photos and videos to cloud storage or send copies to yourself so they are not lost if your phone is damaged.
List Damaged Contents Room by Room
Water damage documentation should cover more than walls and floors. Personal belongings, business equipment, inventory, furniture, and stored items may also be affected. Work through the property one room at a time so the list stays manageable.
For each item, record a description, brand or manufacturer when known, model and serial number for electronics or equipment, approximate age, and condition before the loss. Photograph the item from more than one angle, especially if it has labels, identifying numbers, or visible damage.
If you have receipts, appraisals, prior photos, or purchase confirmations, save them with your damage file. Do not spend hours searching for every receipt before beginning mitigation. Start with what is available and add supporting records as you find them.
For commercial properties, document affected inventory, tools, files, equipment, and areas that cannot be used. Business interruptions and damaged contents can involve different documentation needs, so notify your carrier and restoration team promptly about the nature of the loss.
Keep Damaged Materials Until You Receive Direction
It is understandable to want soaked carpet, ruined boxes, or damaged belongings out of the building immediately. However, do not discard damaged property before it has been photographed and before you receive appropriate direction from your insurance carrier or restoration professional.
This does not mean leaving wet materials in place while damage worsens. Emergency mitigation often requires removing wet carpet, padding, drywall, insulation, or other materials that cannot be dried properly. In those situations, restoration technicians can photograph affected areas, document materials removed, and keep records of the work performed.
Ask for copies of mitigation documentation, including photos, moisture readings, drying logs, equipment records, and an itemized estimate when available. Professional restoration teams use specialized meters and drying equipment to identify moisture that cannot be seen from the surface. Those records can show why drying, removal, or reconstruction work was needed.
Document the Drying and Repair Process Too
The initial water event is only part of the record. Continue documenting the property as work progresses. Take photos after water extraction, during drying, after removal of unsalvageable materials, and before repairs cover previously damaged areas.
A qualified restoration company may track moisture levels in affected drywall, framing, subflooring, and other building materials. Moisture monitoring helps confirm that structural materials are drying toward an appropriate condition before reconstruction begins. It also helps distinguish a surface that looks dry from one that is actually dry beneath the surface.
Save invoices for emergency services, temporary protective measures, hotel stays if applicable, and other loss-related expenses. Whether a particular expense is covered depends on your policy and claim circumstances, so ask your insurer for guidance rather than assuming coverage.
For Maryland homeowners and property managers, weather events, appliance leaks, pipe failures, and basement flooding can all create fast-moving damage. An experienced restoration team can help document conditions, perform water removal, monitor drying, and coordinate the repair process from cleanup through reconstruction.
Common Documentation Mistakes to Avoid
A few avoidable mistakes can leave gaps in an otherwise strong record:
- Waiting several days to photograph affected areas because the damage seems minor.
- Taking only close-up images without showing the full room and location of the damage.
- Throwing away wet materials or damaged belongings before photographing them.
- Cleaning, painting, or making repairs before the initial condition is documented.
- Forgetting to save receipts, emails, equipment records, and contractor documentation.
- Assuming visible dryness means walls, floors, or cabinets are dry inside.
You do not need perfect photos or technical language. You need a timely, honest, organized record that shows the property’s condition and the reasonable steps taken to prevent further damage.
When to Call a Restoration Professional
Call for professional help right away when water has reached multiple rooms, affected ceilings or walls, soaked carpet or hardwood flooring, entered a finished basement, or involved sewage, floodwater, or a significant appliance or pipe failure. These situations often require more than fans and surface cleanup.
Vinis Renovation & Restoration provides 24/7 emergency water damage response for property owners in Glen Burnie and surrounding Maryland communities. Our team can document the loss, extract water, set professional drying equipment, monitor moisture, and help guide the restoration and reconstruction process with clear communication.
The most helpful thing you can do after a water loss is act promptly without rushing blindly. Preserve the evidence you can, protect the property from further damage, and let qualified professionals help bring your home or business back to a dry, safe condition.